Installing Angular and Creating a new project on Windows

Angular Installation
5
(3)

Installing Angular and creating a new project in three Simple Steps

  1. Installing node to your System
  2. Installing Angular CLI
  3. Creating a new Project

Installing node on your System

Go to the link
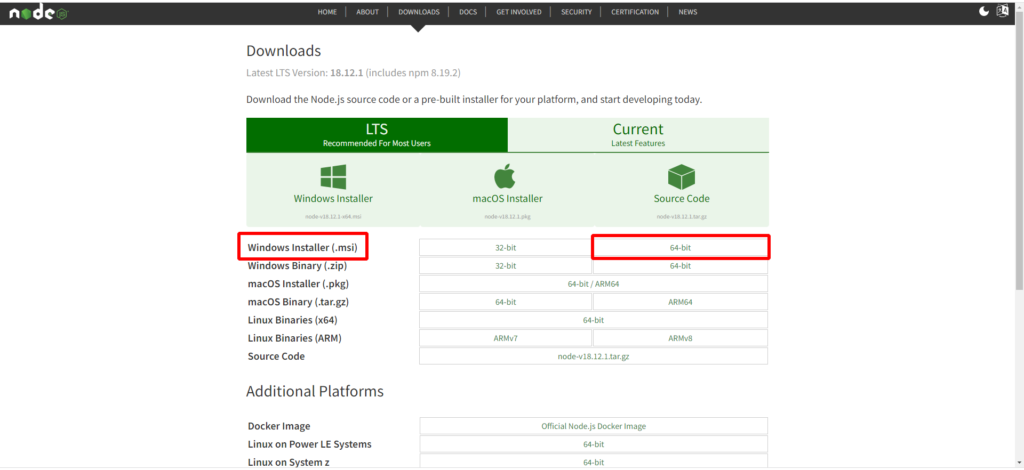
Node installer

After installing check if it is installed or not .

node --version
npm -v
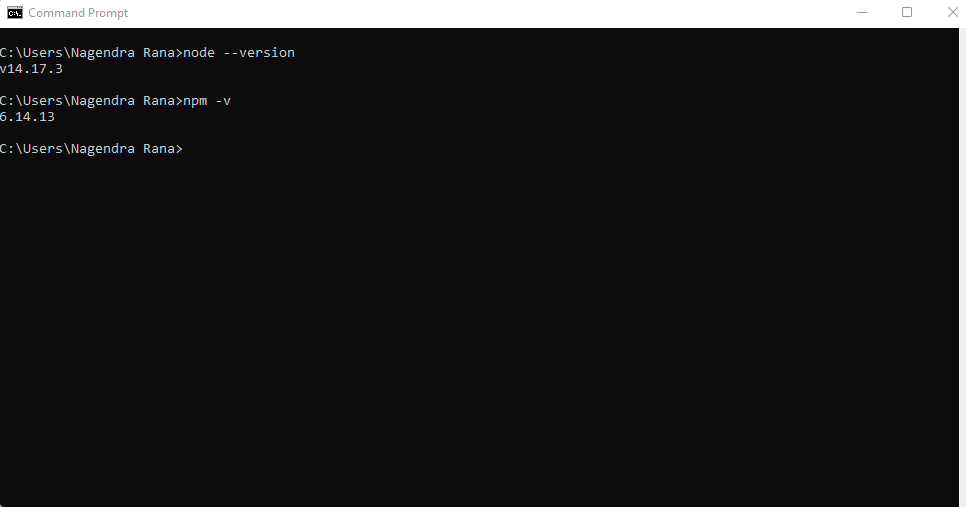
node version checker

Installing Angular CLI

Major versions of Angular CLI follow the supported major version of Angular, but minor versions can be released separately.

Install the CLI using the npm package manager:

npm install -g @angular/cli
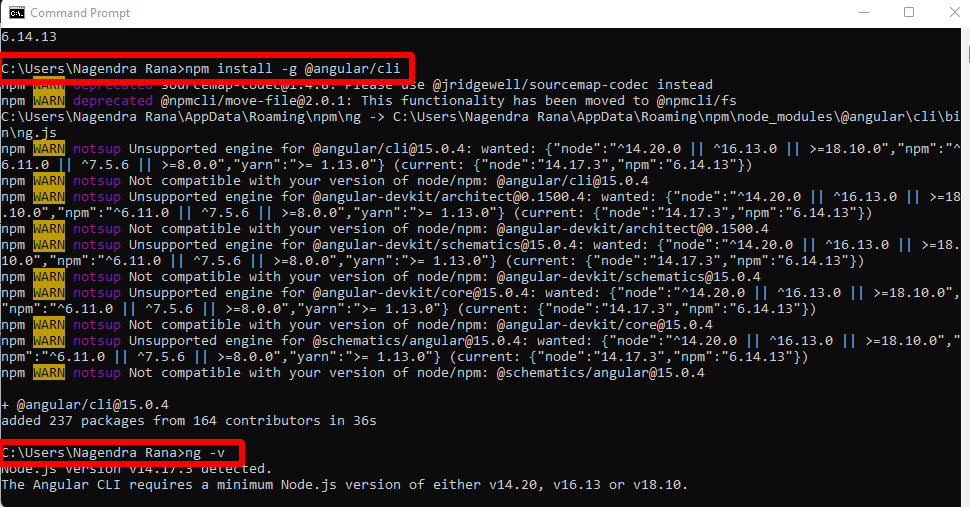
Installing Angular CLI

Also we can check if it is installed or not by checking it’s version.

ng -v

Creating new Angular project

Now we can create a new project.

ng new project_name
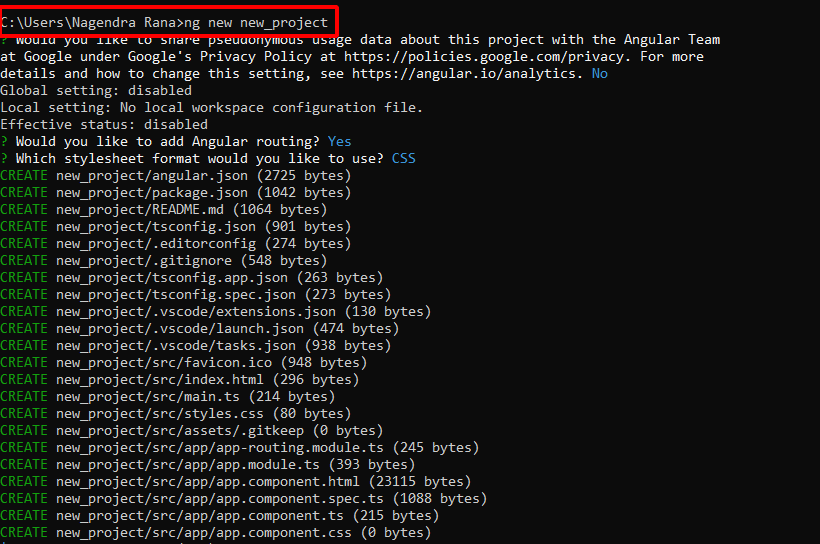
creating new project in angular

After all the process is done we can now serve our project .
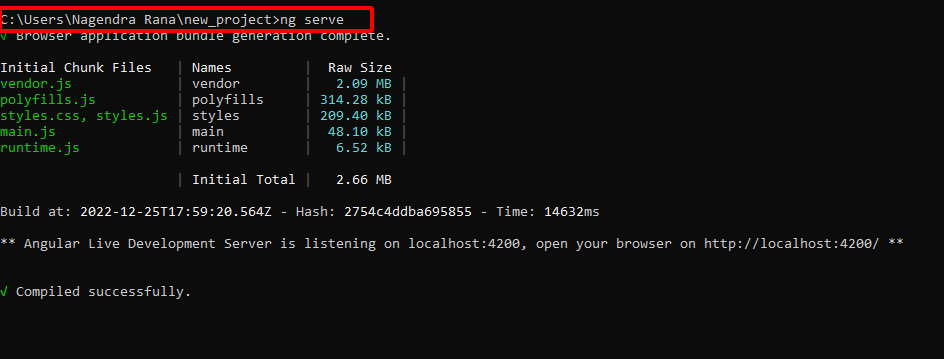
Go to the browser if the project is running Successfully or not.

Checking if project is running
Congratulations you have successfully installed and created your first project in angular

How useful was this post?

Click on a star to rate it!

Average rating 5 / 5. Vote count: 3

No votes so far! Be the first to rate this post.

As you found this post useful...

Follow us on social media!

We are sorry that this post was not useful for you!

Let us improve this post!

Tell us how we can improve this post?

Comments

No comments yet. Why don’t you start the discussion?

Leave a Reply

Your email address will not be published. Required fields are marked *